Attaching an error handler to a Make.com module is the easy part. Picking which of the five directives sits on that route is the decision that quietly determines whether a failure costs you a record, a wrong number, or nothing at all. Two of the five can make a run look successful even though a module failed. One parks the failure in a queue that only helps if somebody actually opens it. One tries to undo work it may only be able to undo halfway. The wrong choice is almost never visible during testing; it surfaces weeks later as data that is missing, wrong, or duplicated, in a scenario whose history says everything was fine.
Paste your logs into the Free Analyzer to check this: analyze your logs free.
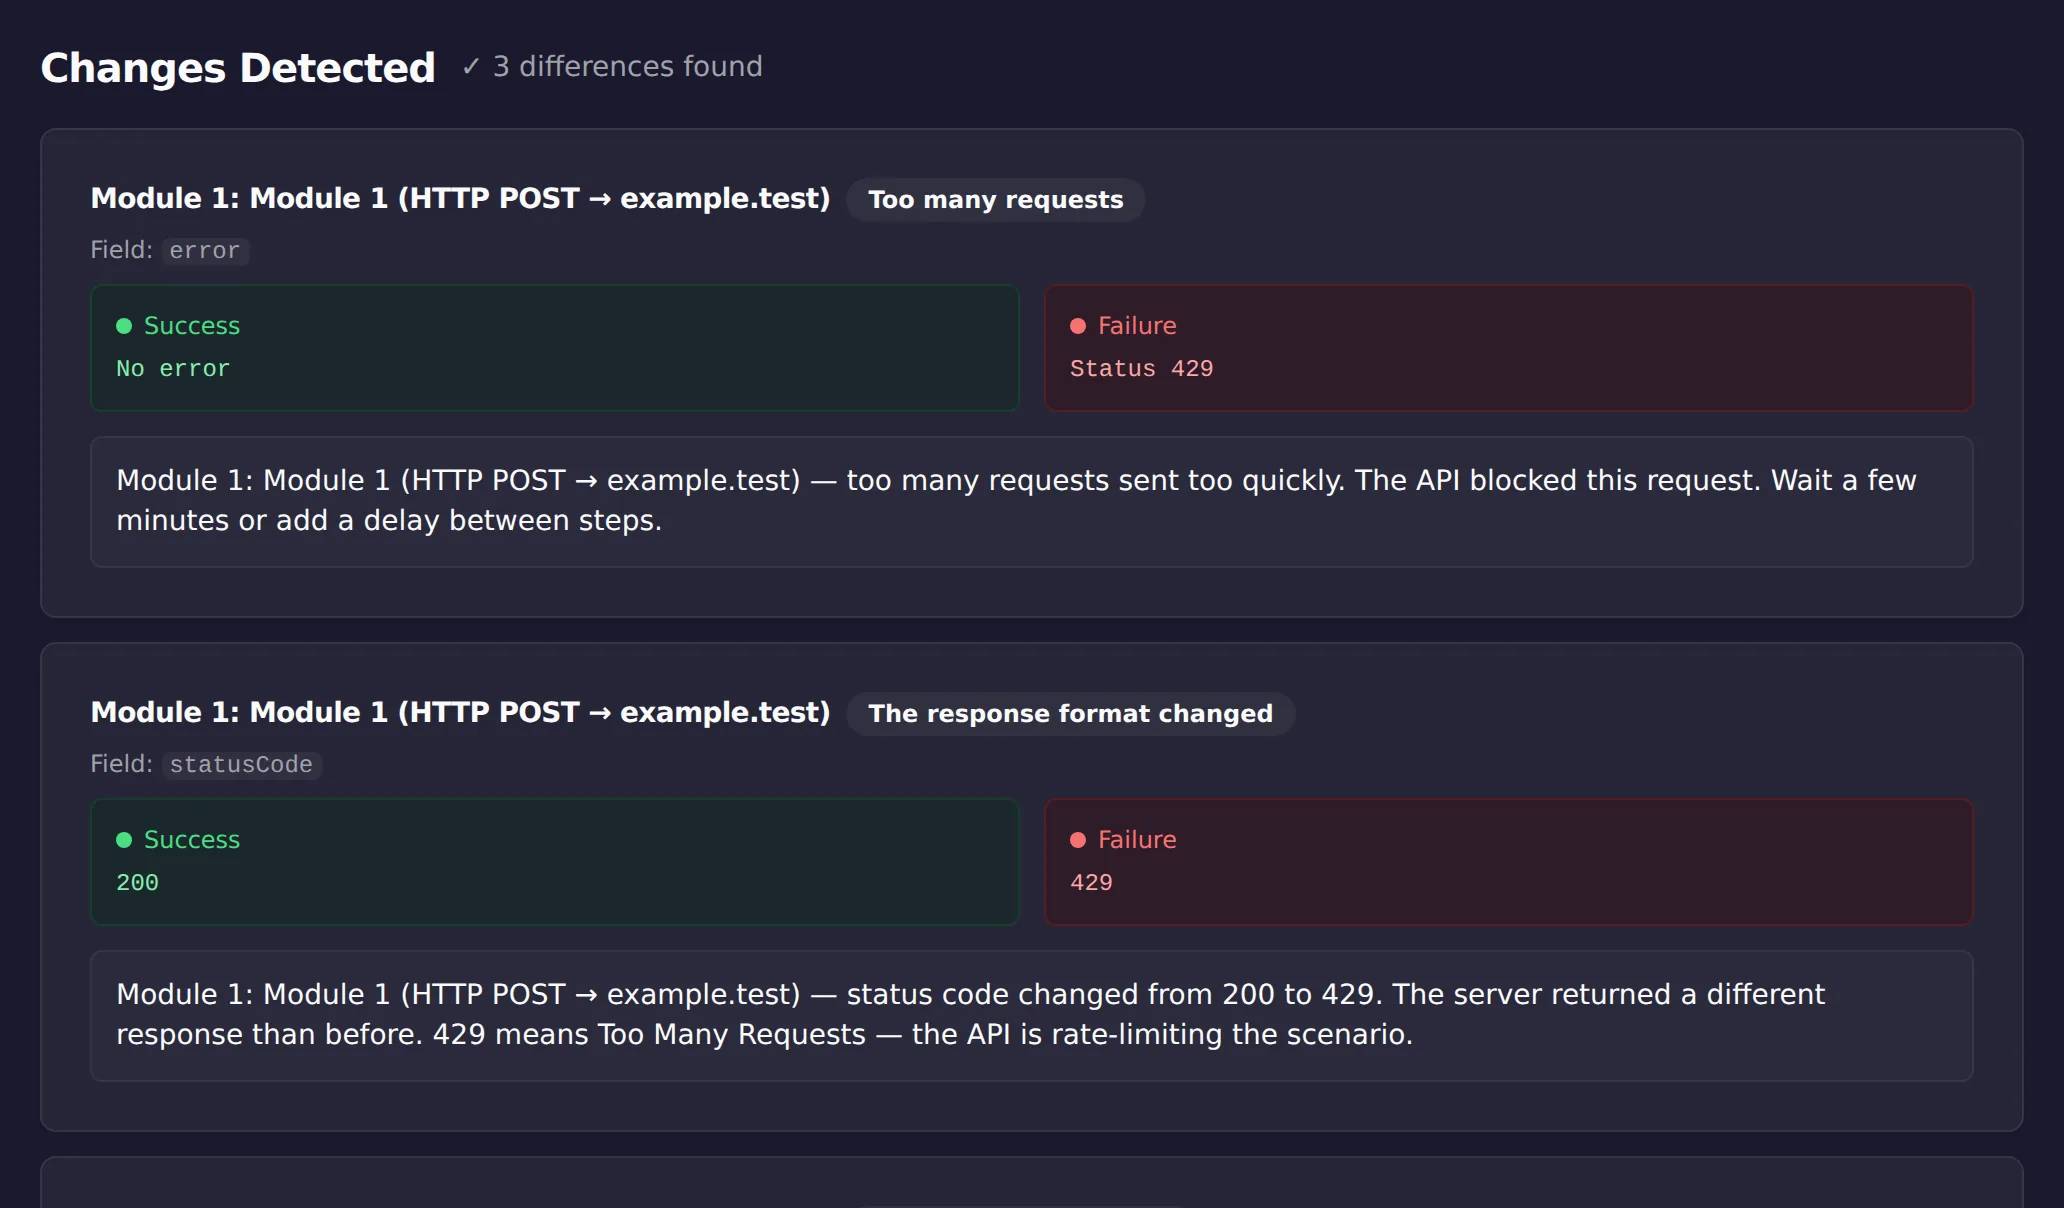
Start from the failure you have, not from the directive list
The useful question is not “what does Rollback do,” it is “what should happen to this bundle when this specific module fails.” Answer that first and the directive follows.
If the failing bundle is genuinely disposable and its absence does not need to be flagged, a malformed test record or an item outside your intended scope, you want the bundle gone. Skip removes the affected bundle from the flow and the run ends with a successful status.
If downstream steps need something rather than nothing, and you have a placeholder you can defend, you want a substitute. Resume replaces the failed module’s output with a value you define ahead of time, and the rest of the scenario continues on that placeholder as if it were real data, with the run ending successful.
If the failure is plausibly temporary, a rate limit or a brief outage, and the bundle is too valuable to drop or fake, you want it preserved for another attempt. Retry, Make’s queue-based option, stores the error and the remaining steps as an incomplete execution so other bundles keep processing, and the run ends with a warning rather than success.
If partial progress through a multi-step process is still worth keeping, you want the run to stop but the work to stand. Commit stops the run and commits whatever changes were already made up to that point, ending in a warning state.
And if the scenario’s actions genuinely need to be all-or-nothing, you want them undone. Rollback attempts to revert the actions already taken in modules that support reversal and ends the run in an error state, and repeated Rollback failures can deactivate the scenario entirely.
Notice that four of these five questions are about your data and only one is about the module. That is why copying a directive from another scenario tends to go wrong.
What the wrong directive actually costs
Each mistake has a distinct signature, and knowing the signature is what lets you recognise it later in a history you did not write.
Choosing Skip where you meant Resume costs you a record. It leaves no placeholder and no marker, so the only evidence is a count: fewer items reached the destination than were attempted, in a run that reports success.
Choosing Resume where you meant Skip is usually worse, because it costs you correctness rather than completeness. A substitute value flows downstream and gets treated as real. A 0 standing in for a failed price lookup gets summed into a total. A “pending” standing in for a failed status check gets written back into a system of record. Nothing errors, because that is precisely what Resume is for.
Choosing Retry without the follow-through costs you time rather than data. The bundle is preserved, which is the point, but an incomplete-executions queue that nobody opens is functionally a Skip with extra steps, and it also depends on a setting: capturing incomplete runs for later resolution requires enabling “Store incomplete executions” on the scenario.
Choosing Rollback on a scenario that is not actually reversible costs you consistency. Not every module supports being reversed, so a mix of reversible and non-reversible steps can end up partially rolled back, some actions undone and some not, which is a worse state than either extreme if you assumed Rollback meant a clean slate.
Skip and Resume both report success, which is the trap
The pairing that causes the most confusion is Skip and Resume, because both leave a run marked successful and neither is wrong to use, yet they say opposite things about your data. Skip means the failed bundle never happened as far as downstream modules are concerned: no substitute, no record, just fewer items processed than attempted. Resume means the failed bundle did happen, with a value you chose standing in for the one that failed. Both mistakes are invisible in the run’s own status, because both directives exist specifically to keep the run green. This is the one pair worth checking by hand whenever you inherit a scenario, since the status will never tell you which of the two is attached.
Retry parks the failure instead of resolving it
Retry is different in kind from the other four: it does not resolve the error, it defers it. The bundle and its remaining steps sit in a queue for manual or automatic reprocessing once the underlying problem is fixed, which is the right behaviour when the failure is transient or needs a human correction, because it preserves the exact bundle rather than dropping it or guessing at a replacement. The tradeoff is that it converts a data problem into a process problem. Retry is the only directive whose correctness depends on something outside the scenario, namely whether anyone checks the queue, so choose it only where that habit actually exists.
Commit and Rollback disagree about half-finished work
Commit and Rollback both stop the run rather than letting it continue, but they disagree about what to do with the work already done. Commit keeps it: changes made in earlier modules before the error are treated as final, and the run ends in a warning state rather than pretending nothing happened. Rollback tries to undo it, for the modules that support reversal, and ends the run in an error state. Choose between them on whether a half-finished run is useful or dangerous in your specific process: a partially built report is usually fine to keep, a partially charged customer is not.
A run’s status narrows down which directive fired
When a scenario produced fewer records than expected, or a placeholder where a real value should be, the final status is a strong clue to which directive fired, before you open a single bundle. A clean success with fewer records than expected points at Skip. A clean success with a suspiciously tidy value in a field points at Resume. A warning points at either Retry, so check the incomplete-executions queue, or Commit, so check how far the run actually got. An error status with some but not all expected side effects present points at a partial Rollback. Matching status to directive narrows the investigation considerably, and it works on scenarios you did not build.
Error handlers are per module, not per scenario
Error handlers attach to individual modules with a distinct dotted connection line, and they only fire when that specific module throws. A single scenario commonly mixes directives deliberately: Retry on a module calling a flaky third-party API where the bundle is worth revisiting, Skip on a module validating optional data further down the same run, Rollback only on the specific module whose action genuinely needs to be all-or-nothing. Treating error handling as one scenario-wide setting misses this. The question is not “what should this scenario do on error” but “what should this module do on error,” asked separately for every handler you attach.
Force the error to confirm what is actually attached
Reading a blueprint to work out which directive is attached to which module is slower and less reliable than forcing the error and reading the run. Feed a module a value you know will make it fail, an invalid ID or a malformed field, then watch the resulting run status and bundle history. That confirms the handler behaves the way you intend rather than the way you remember configuring it. Do this once per handler when a scenario is first built, and again whenever a handler is edited, since a handler that used to do the right thing can be reconfigured accidentally in the same edit that changed something else in the module.
Limitations
This is a guide to choosing between the directives, not a recommendation to attach one to every module by default; an error handler on a module that should simply fail loudly, so you notice, can hide a real problem behind a green status. It does not cover custom-app-specific reversal behavior, which varies by module and is not guaranteed even under Rollback. It does not replace reading your own scenario’s history to confirm which directive actually fired on a given run.
This article was drafted with AI assistance and checked against cited sources through ScenarioTrace’s editorial workflow.
Make and Make.com are trademarks of their respective owner. ScenarioTrace is an independent tool and is not affiliated with or endorsed by Make.